Showing posts with label Crafts. Show all posts

Mar 13, 2016

DIY: Envelope Pocket

Hello there,


You can find now on the Dear Lizzy blog two different DIY ideas to create with her newest collection (DIY CACTUS PIÑATA and DIY: ENVELOPE POCKET).

It is not a secret that I LOVE to make mini albums of my little adventures around the world, or even about the little things in life. But, lately, I realized that not only I enjoy to look back at the photos, or to rediscover the story through the album, but also to bring back all the memories with gathered memorabilia along the way.
DIYenvelope1
The bright transparency from the new Happy Place line, gave me the idea to make a little cute envelope out of it. This is perfect to keep some tickets, business cards or even extra photos from my last summer vacation. It was super easy to make and I love the fun look of it. Let’s take a look on the steps to make this:
DIYenvelope2
1. Pick the width of the envelope and trim the paper down. I find that 4×6 or 4×5 it is a good size for most minis and it is normally big enough to fit the usual memorabilia. So, I cut the 12×12 transparency into a 12×4 stripe. You can use an envelope template to serve you as a guide as well.
DIYenvelope3
2. Fold the paper to create the pocket of the length you desire, and stitch the sides. Remember to leave a couple of inches on top in order to create a folded lid.
DIYenvelope4DIYenvelope5
DIYenvelope6
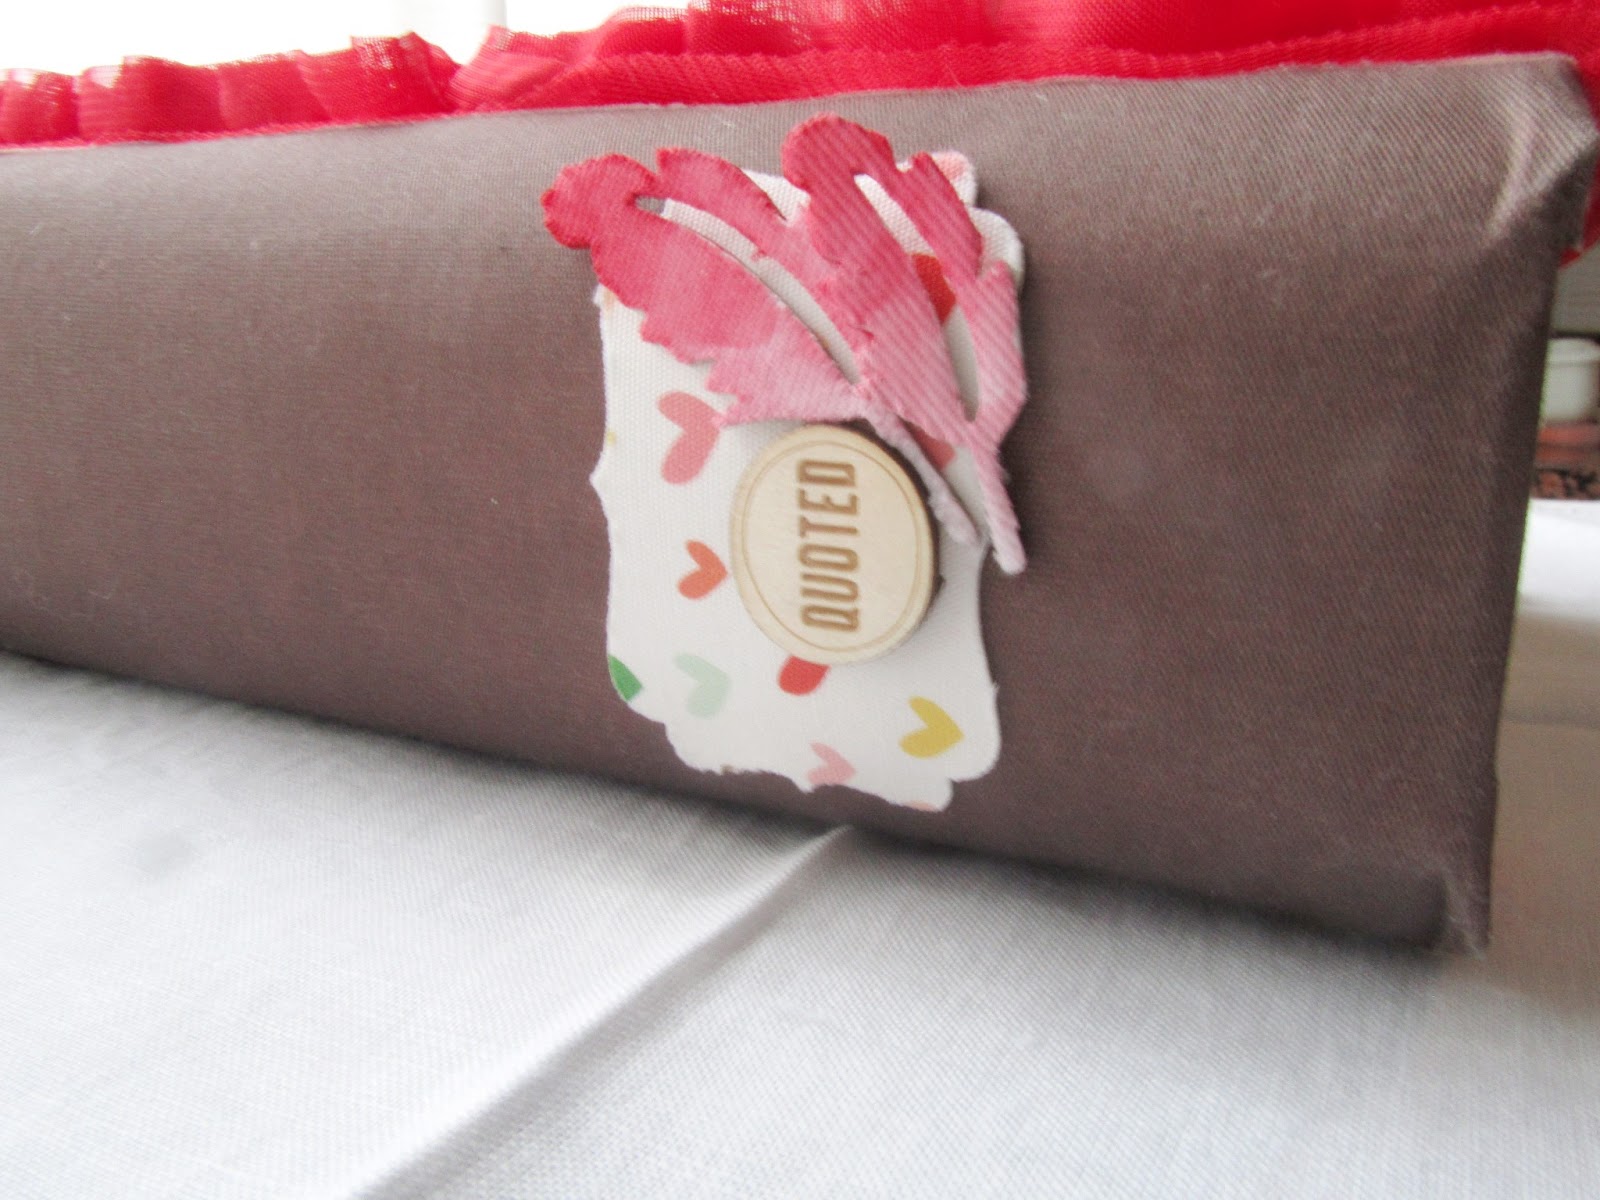
3. Now you have the basic structure completed. The tricky part is to choose how you want to close the envelope. In my case, I punched a couple of tiny holes to add two eyelets (one on the lid and one on the pocket) with a one-inch circle paper around. Then, I used a gold string that came with the Dear Lizzy tassels to tie the envelope shut.DIYenvelope7
4. As I final touch, I attached a couple of fun tassels from the Happy Place collection.
And done! Now go and grab some memorabilia and add this to your planner, a layout, a mini album, or even to your project life album (you can always punch two holes on a side or at the bottom to add it to a ring album). Let’s bring those memories alive! 
DIYenvelope8

Nov 10, 2015

Gossamer Blue November Reveal

Hello there!

I am back with a new Gossamer Blue Reveal today. Yaaay!! Last week was reveal day at Gossamer Blue. And, as always, I hope you have already checked their new kits because their are going fast and you don't want to miss these ones ;) 

Here you can find a layout and a little packaging I made with the November kits. You will be able to find a great variety of blue patterns through out the different embelishments, papers and cards this month. They are perfect to add a little twist to your projects. Be sure to stay tuned for my blog entry this month at Gossamer Blue to see how I combined I few of them. 

For the packaging, I tried to stick to a softer and more elegant palette. Just the perfect final-touch for a gift box. Don't you think?  Don't forget to check the projects from the rest of the Design Team at the Gossamer Blue gallery, right here. There is always so much inspiration over there!


xoxo
Olatz

Feb 18, 2014

Be my Valentine!!

(texto en español al final de la entrada)


Oh Happy Love Day!!!

I know I know... Valentine's Day was the last Friday but as I din't have the chance to celebrate it on that day I didn't have the rush neither to prepare everything for the 14th. But finally  I completed it and I'm so happy with the little package I created and all I want to do now is give it to my boy. In fact. I hope he is not reading this because I have to wait a few more days to celebrate this special day hehe So, what's inside the bag?


All these goodies!! I got inspired by the Lindsay Letters "I'll eat you up I love you so"card. I chose a lot gold embellishments, red, white and pink... and lots of sweets of course!  I also had fun adding confetti because it is a day to celebrate, right?  A handmade envelope and card, some cute "Wild Thing, You make my heart sing" tags attached to a Pascal figure from the movie Tangled (Disney), heart shaped sweets, chocolates and a couple of cupcakes. As I said before I love pom-poms so I attached a couple of them to a pair of spoons. How cute are those? To decorate the outside of the bag I mainly used Studio Calico and Dear Lizzy products. Cute pie!


Now, I leave you with more in detail photos! I hope you had fun on the 14th with the people you love the most!

xoxo

Boo


////////////////////////////////////

¡Oh, Feliz Dia del Amor !!

Ya sé, ya sé... el Día de San Valentín fue el viernes pasado, pero como tuve la oportunidad de celebrarlo ese día, tampoco tenía prisa para preparar todo para el día 14. Pero al fin lo he terminado y estoy super contenta con el pequeño paquete que he creado y todo lo que quiero hacer ahora es darselo a mi chico. De hecho espero que no esté leyendo esto porque aun toca esperar unos días más para celebrar este día tan especial jeje Pero entonces, ¿qué hay dentro de la bolsa?

¡Todas estas golosinas! Me inspiré en la tarjeta de Lindsay Letters que quiere decir "Te voy a comer Te quiero tanto ". Elegí muchos adornos dorados, rojos, blancos y rosas... y ¡un montón de dulces por supuesto! También me he divertido añadiendo un montón de confeti porque es un día para celebrar, ¿no? Un sobre hecho a mano y la tarjeta, algunas tarjetas atadas a una figura de Pascal de la película Enredados (Disney), dulces en forma de corazón, chocolates y un par de magdalenas. Como ya he dicho anteriormente me encantan los pompones y me animé a atar un par de ellos a unas cucharas. ¿A que quedan monas? Para decorar el exterior de la bolsa usé principalmente adornos de Studio Calico y Dear Lizzy!

Ahora, os dejo con más fotos en detalle. ¡Espero que os hayáis divertido el dia 14 con la gente que más queréis!

xoxo

Boo

Feb 5, 2014

Animal Topped Mason Jars

Hello,

I've spotted this DIY containers around Pinterest so many times and I've wanted to try it out for ages. Anything relating with DIY containers (specially for my craft desk) is a huge hit with me right now. So I am pretty excited about how these cute jars turned out (especially the gold one). 


It's probably one of the most simple DIY I've ever attempted. I thought I'd share the steps for those who haven't come across this project before. For those who have probably seen it before, you have to know that I made a little change: instead of using spray I used acrylic paint and I also tried to achieve an ombre effect.

Step by Step:

- Collect a variety of small plastic animals such as: a giraffe, a lion, an elephant, a rabbit and a bear.


- Glue the animal figures to the Mason jar lids: using Loctite glue, I glued the animal feet to the tops of the lids. Let dry completely. 


- Paint them both with your choice of color: I gave them two coats of acrylic paint. As I mentioned before, I also chose to make a kind of ombre set jars... plus a gold one. To make that you just have to down the color of choice with white paint in a serial sequence. 


- Once they are dry, put the lid back on top of the jar and... fill them up with pretty things and display!!


Easy right? I love the result! They look so pretty and they are very versatile. You can used them to display sweets at a party, for children rooms, kitchen storage... And you also can change the topper, for example you can use wood letters to make a word, Disney characters, food figures... In my case, I decided to use them as little embellishments containers: one for cloth-pins, another one for paper-clips, another one for flairs, another one for buttons and the last one for pom-poms.


They are even cuter in person I swear! Well, I hope you try to make them at some point!

xoxo

Boo 


////////////////////////////
Hola,

Llevaba viendo estos tarros decorados en Pinterest durante tanto tiempo que al final no pude resistirme a probar a hacerlos. Todo lo relacionado con envases DIY (especialmente para mi escritorio de manualidades) son ahora mismo lo más para mí. Por eso estoy super emocionada  por estos tarros y por lo bonitos que quedaron ( en especial el dorado).

Os aviso desde ahora a los poco atrevidos que es probablemente uno de los DIY más sencillos que he hecho jamás. Aun así he pensado compartir los pasos para los que no hayan visto este proyecto antes. Para aquellos que probablemente lo han visto antes,  he hecho un pequeño cambio: en lugar de usar pintura en spray utilicé pintura acrílica y también traté de conseguir un efecto ombre o degradado.

Paso a paso :
- Se recoge una variedad de pequeños animales de plástico tales como: una jirafa, un león, un elefante, un conejo y un oso.
- Se pegan las figuras de animales a las tapas de los frascos: yo empleé Loctite para pegar las patas de los animales a las tapas de los frascos. Se deja secar por completo.
- Una vez secos, se pintan con el color de su elección: yo les dí dos capas de pintura acrílica para una mejor cobertura. Como mencioné antes,  decidí hacer una especie de frascos con efecto ombre... además de una dorada. Para conseguirlo sólo tiene que rebajar el color de elección con pintura blanca en una secuencia serial.
- Una vez secos, se pone la tapa en la parte superior del tarro y... se llenan con cosas bonitas y ¡a presumir!

Fácil ¿no? ¡Me encanta el resultado! Se ven tan bonitos y son además muy versátiles. Podéis utilizarlos para presentar los dulces en una fiesta, para habitaciones infantiles, almacenaje de la cocina... Y también se puede cambiar el animalito, por ejemplo, se pueden usar letras para formar una palabra, personajes de Disney, figuras de alimentos... En mi caso, decidí utilizarlos como recipientes para adornos pequeños de scrapbooking: uno para pinzas, otro para clips, otro para chapas, otra para botones y la última para pompones. ¡Son aún más monos en persona lo juro! Bueno, ¡espero que os animéis a probarlo en algún momento!


xoxo

Boo

Jul 19, 2013

Life lessons a & little notes

Hello!

Today I wanted to share a kind of different project: a book to keep some notes for my future me and my future family :) But this is not a common book... this is actually a wood box decorated as a book!! Ok. I had to admit that it was easy to come to this idea as it was already shaped like a book... but isn't it cute?


I had these wonderful fabric papers from one of the first collections of Dear Lizzy and I couldn't have imagined a better way to use them. They are perfect to decorated the wood box, such lovely designs. I also had some nice pieces from the latest collection of Dear Lizzy. The envelope chipboard matches perfectly the design that I had in mind. And I love the texture that the rose ribbon gives to the cover.


As I said before my intention is to use it to keep some LIFE LESSONS & LITTLE NOTES. Just some good lessons or quotes that I would love to discover once in a while.


Here you can see the inside of the box.  It has the perfect size for 4x6 cards. And I have already place a few cards inside. Love it!!


In the next photo you can appreciate a close up of the side of the book. I colored the fabric feathers from Studio Calico to match the color palette of the fabric papers. I added the finishing touch with the cute wood veneer also from Studio Calico that says Quoted... perfect!


I hope you like this idea and that you decide to create something like this. Are you ready to keep notes for the future you? ;)

xoxo 

Boo